Installation of Proxy with RedBorder Live Registration
Requirements
The RedBorder client proxy is software that has minimum requirements to function correctly. The essential minimum elements required for installation, as well as those recommended for adequate performance, are shown in the following table:
Installation Requirements
- Disk: 16 GB
- RAM: 1 GB
- CPU: 1 núcleo
- Network Interfaces: At least two
- Disk: 32 GB
- RAM: 8 GB
- CPU: 4 núcleo
- Network Interfaces: At least two
Installation Process
The first step to start monitoring your network with RedBorder is to obtain the latest official RedBorder packages for Rocky Linux 9, available at repo.redborder.com.
Installing the RPM
dnf install epel-release -y && rpm -ivh https://repo.redborder.com/ng/latest/rhel/9/x86_64/redborder-repo-latest-1.0.0-1.el9.rb.noarch.rpm
dnf install redborder-proxy -y
With the packages downloaded and installed, the next step is to configure RedBorder. To do this, log out of the console session and log back in. You can use a basic command for this:
/bin/bash --login
This will update the paths to the scripts, allowing us to execute the setup command:
rb_setup_wizard
This will start the platform's setup wizard in the console to guide you through the entire process.
Setup Wizard
Having started the setup wizard for the platform in the console, you can use it as a guide throughout the process. The first screen that appears also offers an index of the upcoming steps.

Starting the wizard
If you are unsure about the current configuration, you can cancel with the "No" option, which will show the following screen before returning to the console view.
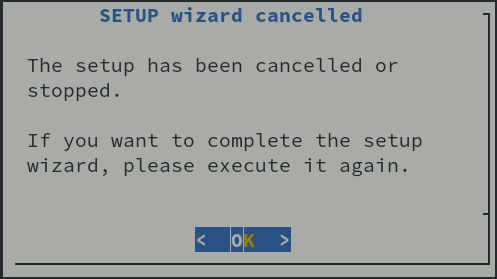
Cancelling the wizard
Cancellation...
The "No" option will cancel the entire installation process, meaning that all configuration done during the process will be lost.
Network Configuration
This step is optional. If you are sure that the network interfaces are already configured, you can skip this step. Otherwise, enter the configuration by pressing "Yes".
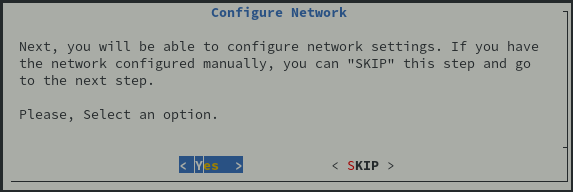
Starting network configuration
In the lower box, the existing network interfaces on the device in question are listed. Below all the interfaces that the device has, there is the Finalize option, which we can select after successfully configuring the interfaces.
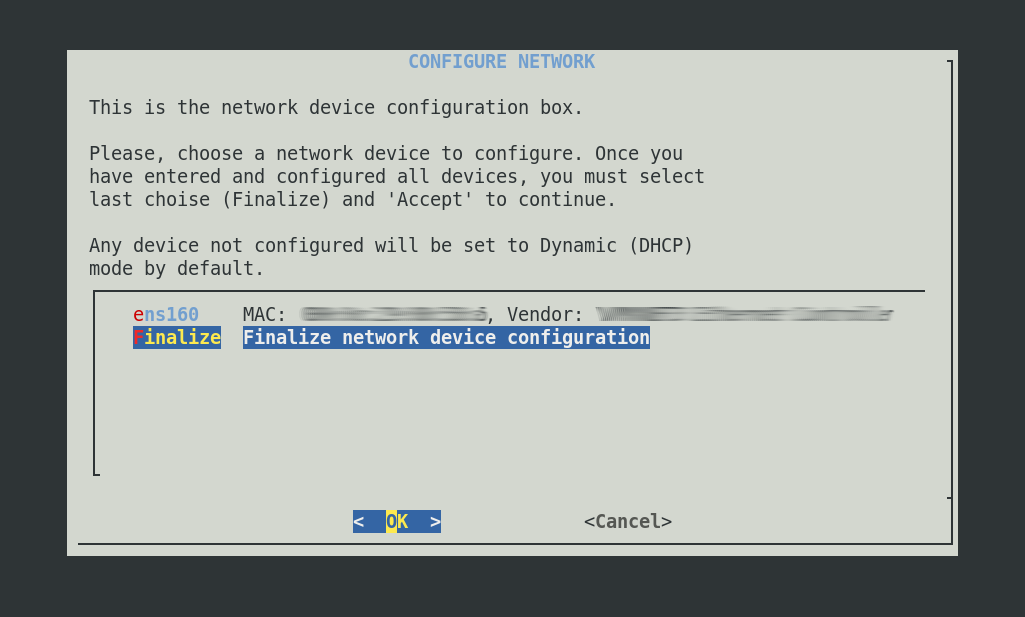
Network configuration
By selecting an interface and entering it, we are given the option to configure it with a static IP address or to operate dynamically (with DHCP).
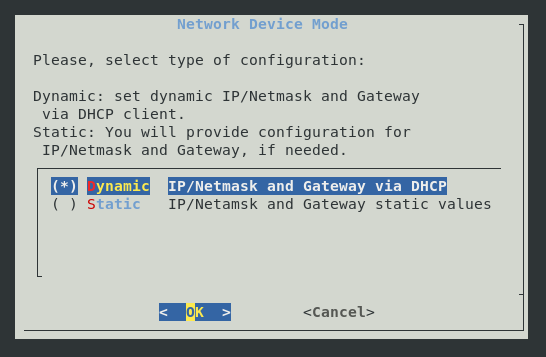
Network interface configuration
If you select the static IP option, you will need to specify the IP, subnet mask, and default gateway:
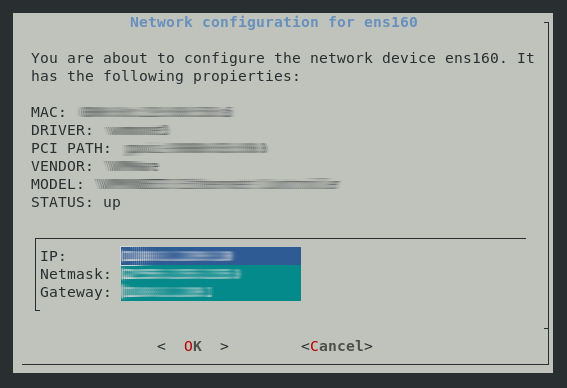
Static interface configuration
Select management interface
Because the proxy has at least two interfaces, you have to select which one is the management one.

Select management interface
DNS configuration
The setup wizard will give you the option to choose whether or not to configure DNS servers if you actually need to configure a DNS.
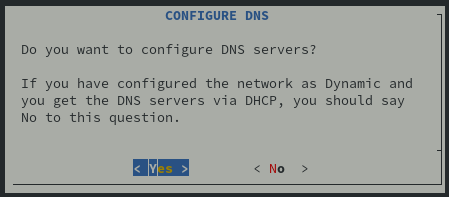
Starting DNS configuration
If you need to configure DNS, set up at least one server. This can be done on the following screen:
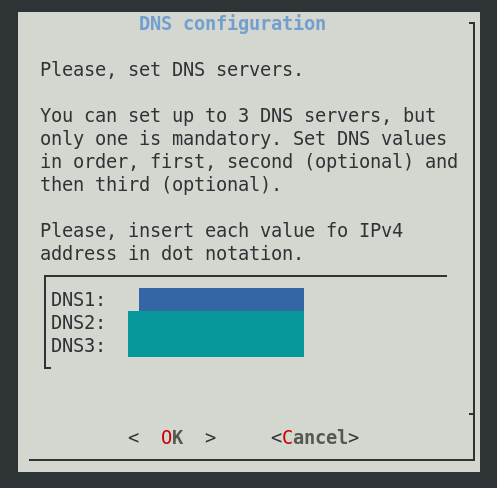
DNS configuration
Configuration with the Remote Server
The proxy will be associated with a manager or cluster with which to share the captured data. To associate, you need to indicate the address of the manager or cluster. You can indicate either a domain address or an IP address.

Configuration with remote server
Finishing the Configuration
Before applying the configuration, the wizard will summarize all the filled-in information, waiting for the user to accept it.

Accept configuration
Finishing the Installation
The installation is almost complete; you just have to wait for the process to finish.

Applying Configuration
Press "OK" to return to the console view.
Additionally, you can observe the logs of the registration process with the manager using the following command:
journalctl -u rb-bootstrap -f
At the end of the installation process, the journal will show the following:

End of installation
What's Next?
In the next chapter, we will finish associating the proxy with the manager so that it can retransmit data.